SS4 Server จีน - Analysis of Naval Warfare Strategy for the Fourth Era
Analysis of Naval Warfare Strategy for the Fourth Era
Source: World启元 Mobile Game Date: November 21, 2024 10:00
The upcoming Fourth Era will introduce a naval warfare map. This player-submitted guide will provide a quick introduction to naval combat and an overview of the strategic layout of the entire Fourth Era map. To ensure a detailed understanding, this guide is divided into the following sections:
- Introduction to the Basic Rules of Naval Warfare
- Key Combat Points in Naval Warfare
- Naval Strategy on the World Map
Basic Rules
Here is a simple recap of the basic rules for naval warfare.
1. Connection and Conversion Rules Previous articles on naval warfare have covered this in detail, so here is a brief summary.
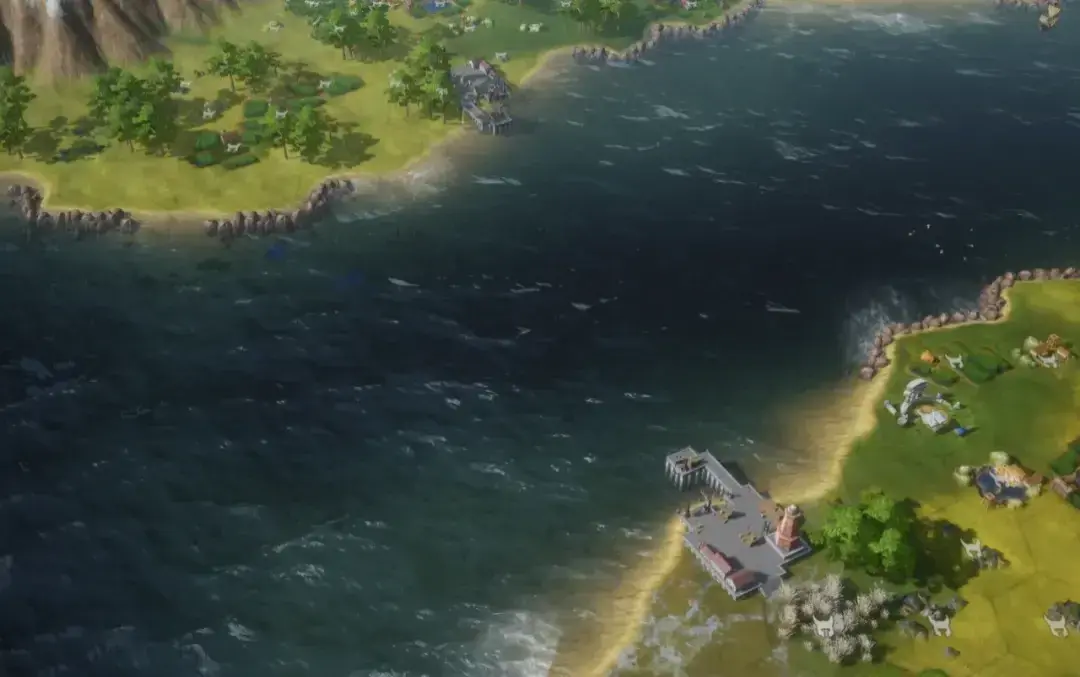
Land and sea are not directly connected. Land units going to sea and naval units coming ashore must use Docks, Port Cities, or Port Passes.
As the image below illustrates, movement between land and sea must be linked via a Dock. If you have not captured one, you cannot perform embarkation or disembarkation operations.
Docks, Port Passes, and Port Cities are land-based structures adjacent to the sea. Players can use these locations to move between land and sea. Therefore, to control the sea, one must control these three types of public strategic points on the map.
Port City
Connecting Dock
Port Pass
Additionally, there are pure Sea Passes that connect continents. Capturing these in advance can provide a significant morale advantage.
Sea Pass
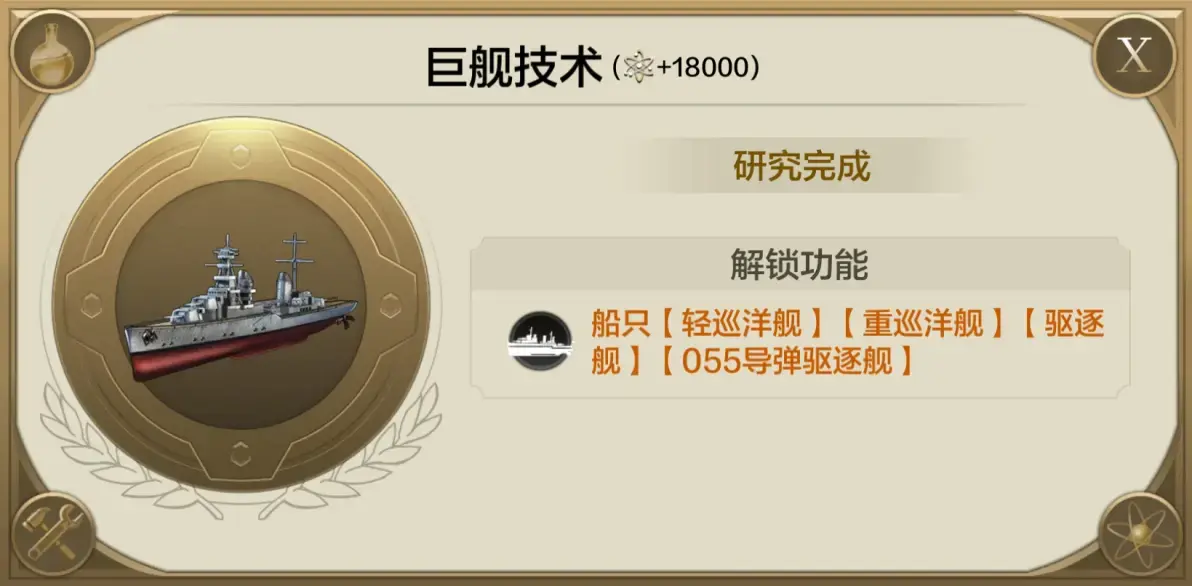
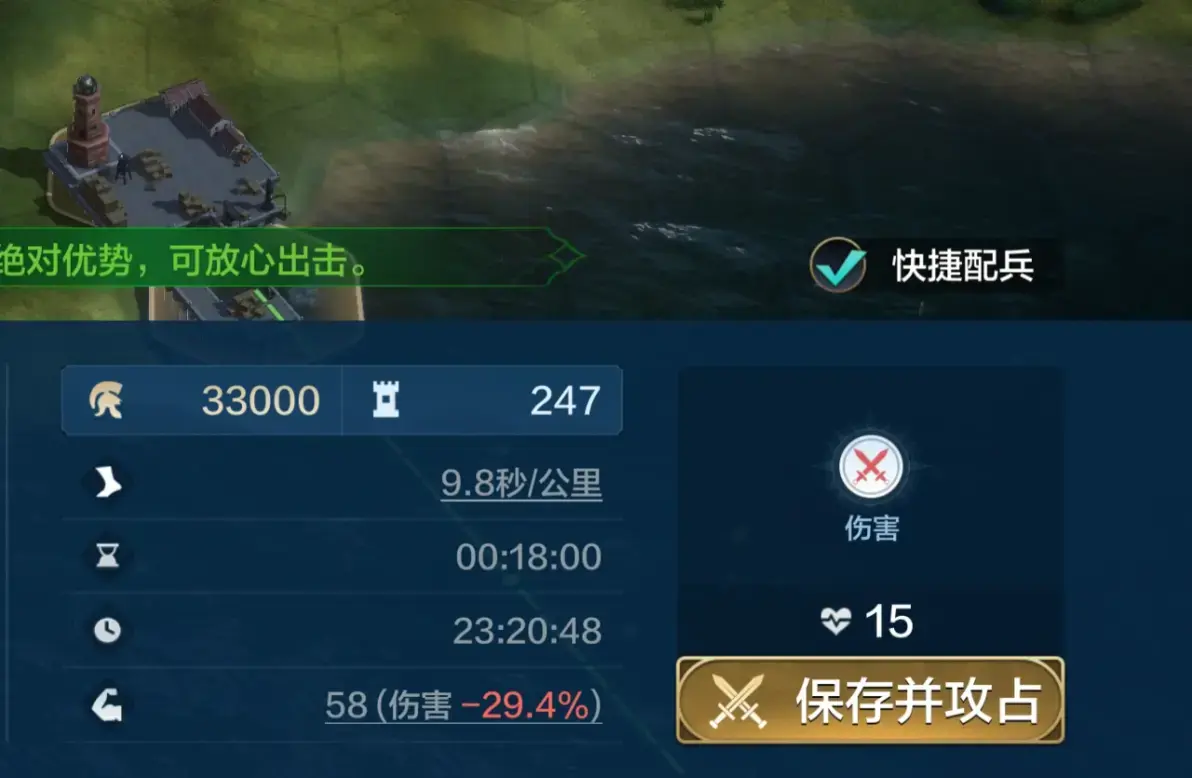
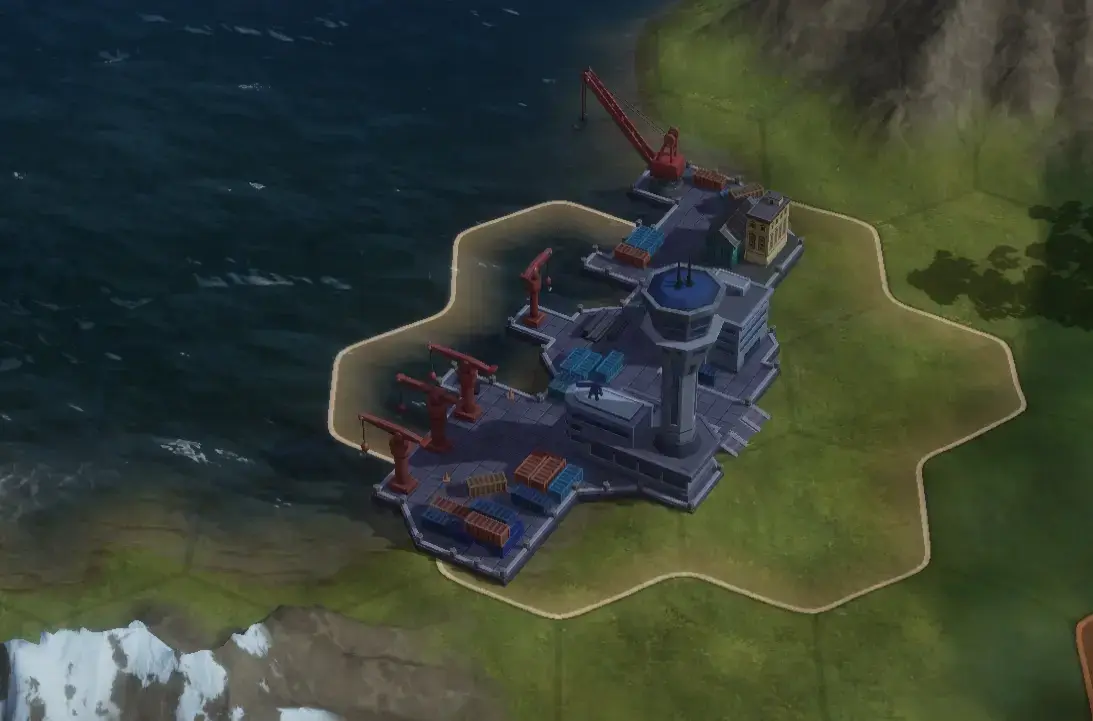
2. Naval Units Naval units are converted from land-based armies. Players need to construct a Shipyard and select the relevant ships in the army interface (the conversion between land and sea units is automatic when embarking or disembarking).
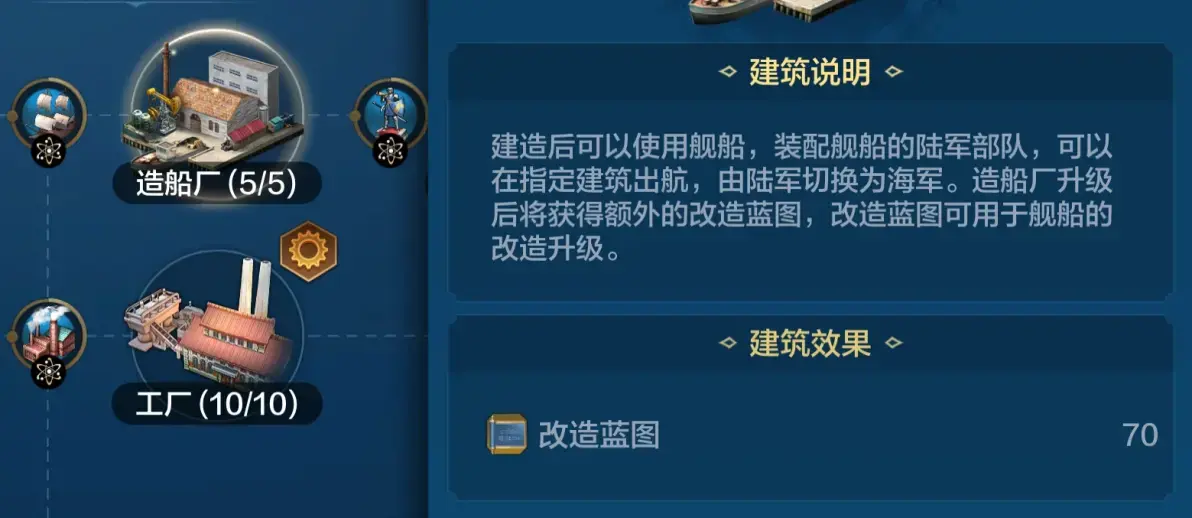
[Image showing the Shipyard building interface.]
Ships differ by era. Generally, like land armies, ships become more powerful as the eras progress.
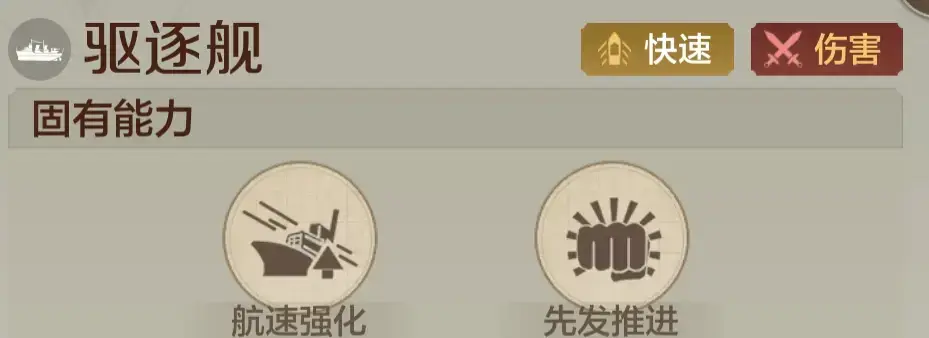
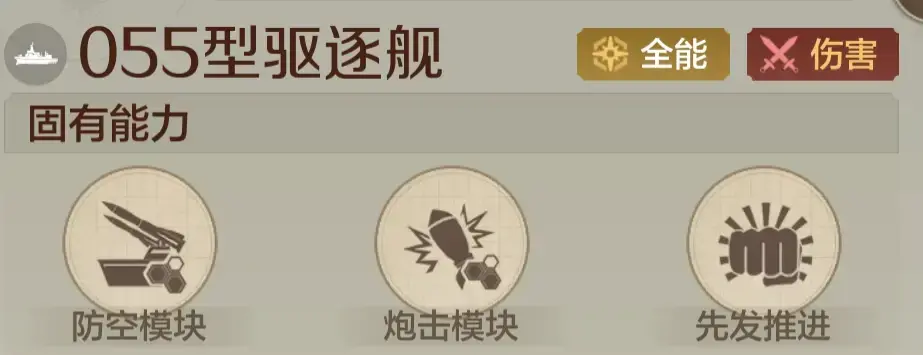
There is a variety of ship types. Some are focused on direct engagement (with higher cruising speed), while others specialize in bombardment and anti-air, similar to land army roles.
[Image showcasing different types of naval vessels.]
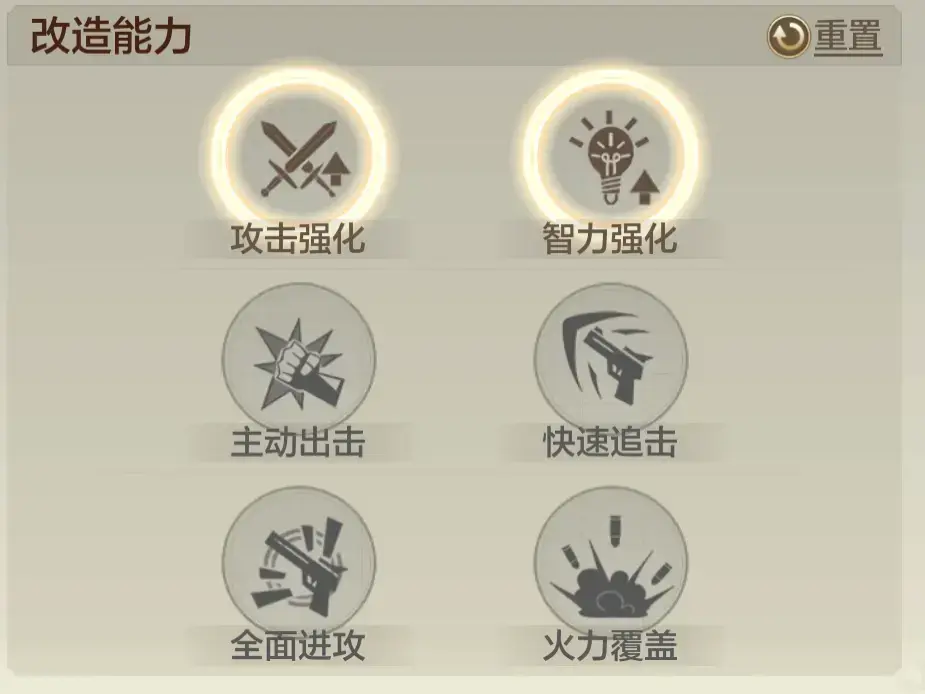
Players can also upgrade ships by modifying their blueprints, enhancing their combat performance.

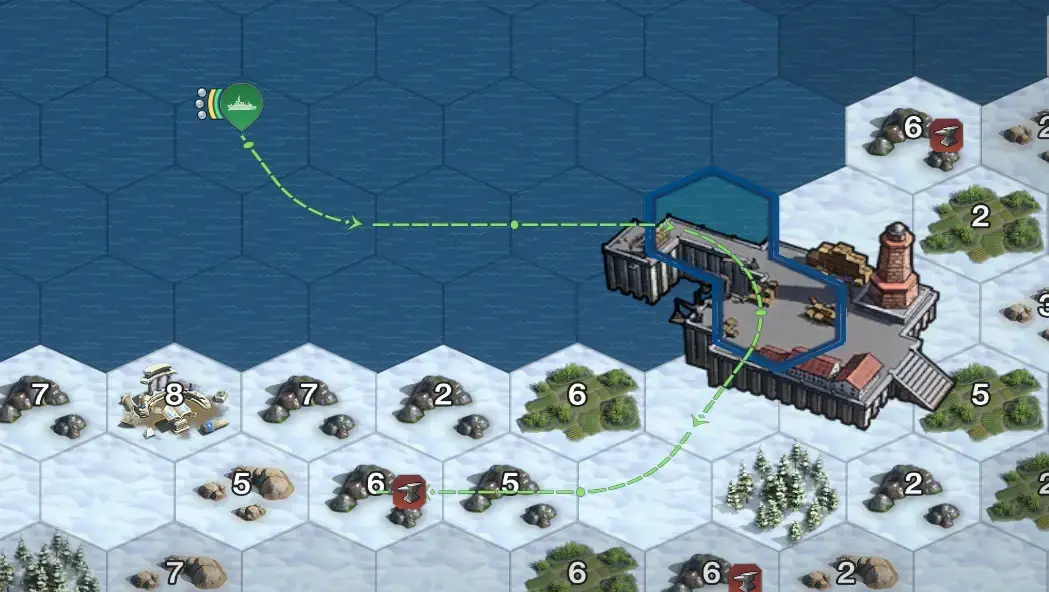
3. Engagement Rules Unlike on land, any sea tile can be captured without requiring a connection to your territory (meaning you can directly capture distant Port Cities, Passes, Docks, etc., without a continuous path).
[Image showing an arrow indicating a long-distance attack on a port across the sea.] Caption: Can attack and capture from a great distance without a land connection.
This means that naval operations do not require building a path tile by tile. You only need to have enough morale to advance. Consequently, using the sea for troop movement to attack and control land is extremely fast and convenient, providing a huge advantage in the early game when expanding territory on land.
However, it's important to note that morale rules are the same as on land: moving one tile consumes one point of morale. Due to the scarcity of deployment points, the faction that first controls the ports and Sea Forts will gain a significant geographical and defensive advantage.
Combat in the sea is fundamentally the same as on land; units that collide will engage in battle. Similarly, air units can bomb naval units, and artillery can bombard naval units (navies also have anti-air and bombardment units).
Combat Essentials
Having covered the basic rules, this section will focus on key points to be aware of in naval combat.
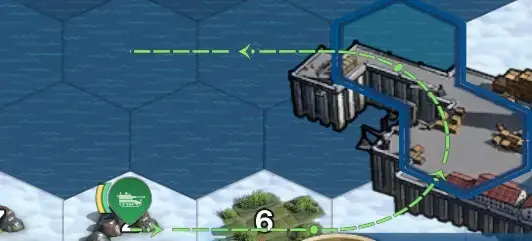
1. Focus on Controlling Connection Points Since embarking and disembarking rely on various connection points, and there are no territory connection restrictions at sea, controlling Docks, Port Cities, and Passes is of utmost importance. The closer these points are to the enemy's rear, the better.
Due to the lack of a land-linking requirement, naval movement and expansion are extremely fast. Using these connection points to conduct rapid raids on enemy strategic locations via waterways will become highly advantageous.

Caption: Controlling the relevant connection points is necessary to embark and disembark.
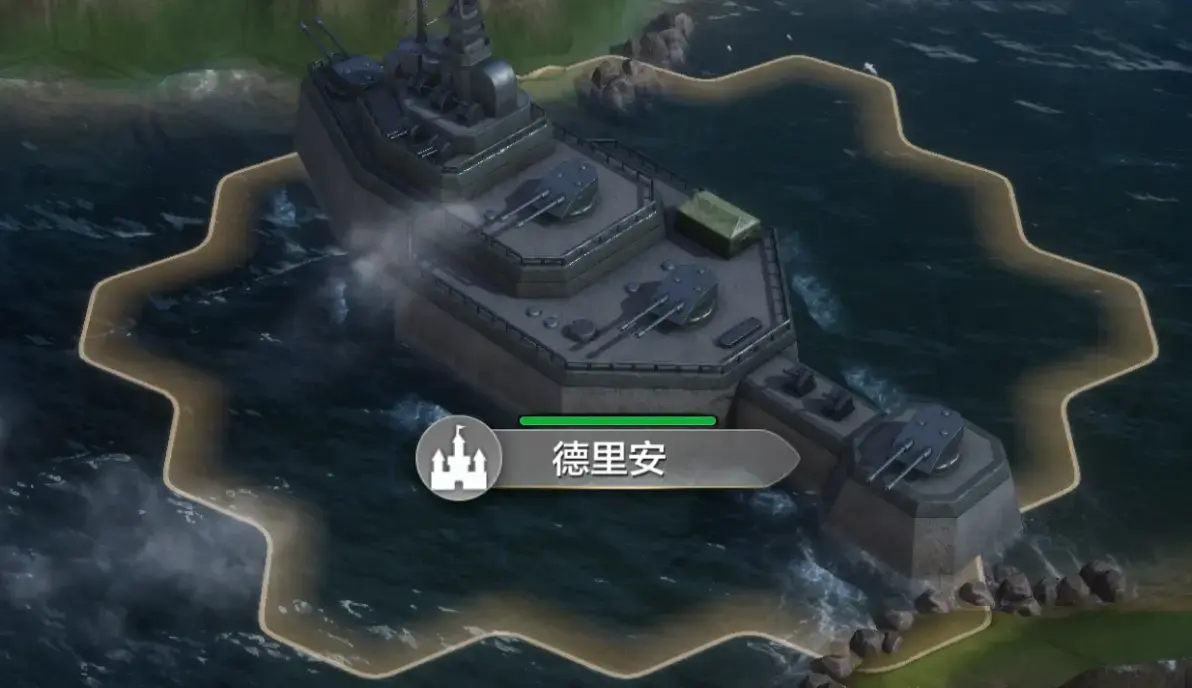
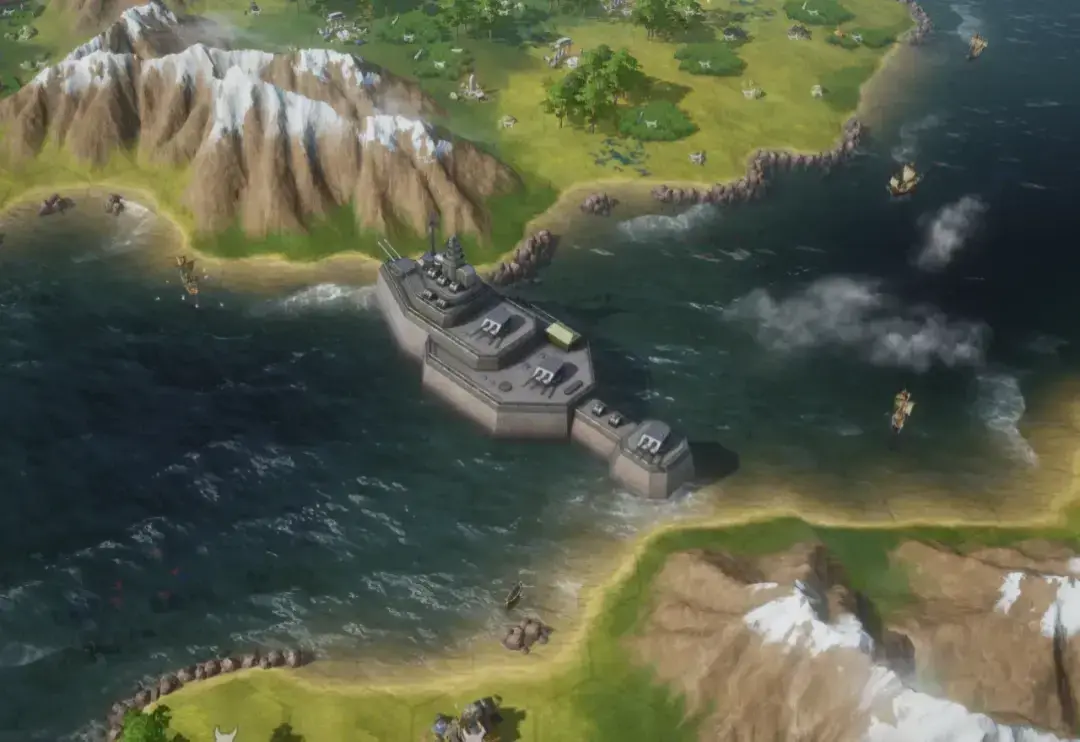
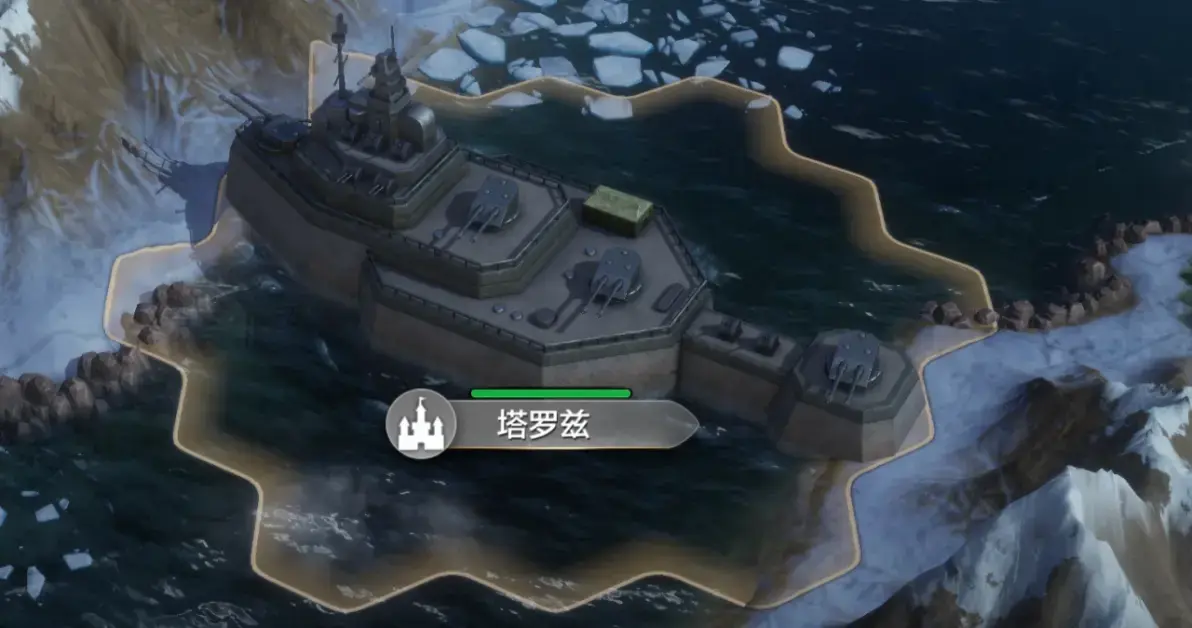
2. Focus on Controlling Sea Forts The sea contains several Sea Forts. After capturing one, a Naval Foundation will be generated around it, allowing the owner to claim surrounding sea tiles (where a Sea Fortress can be built).
Capturing a Sea Fort means you have a convenient deployment point at sea, allowing for efficient troop dispatch, maintenance of high morale, and recruitment. The significance of such a transit point in long-distance naval campaigns is self-evident. Furthermore, Sea Forts are easy to defend and hard to attack. Controlling the forts is equivalent to controlling the entire sea region. Therefore, it is imperative to prioritize the capture of Sea Forts along your path during naval campaigns.
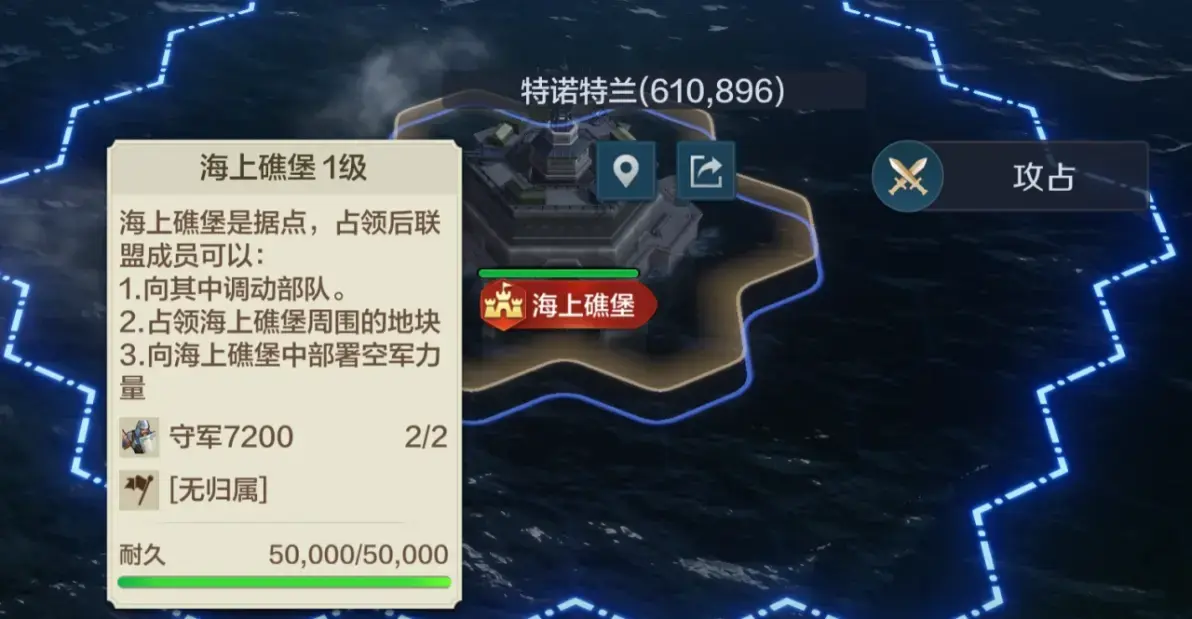
Caption: Sea Forts allow for troop deployment, recruitment, and morale replenishment. They are must-win objectives.
3. Key Points for Naval Offense and Defense This is divided into two parts:
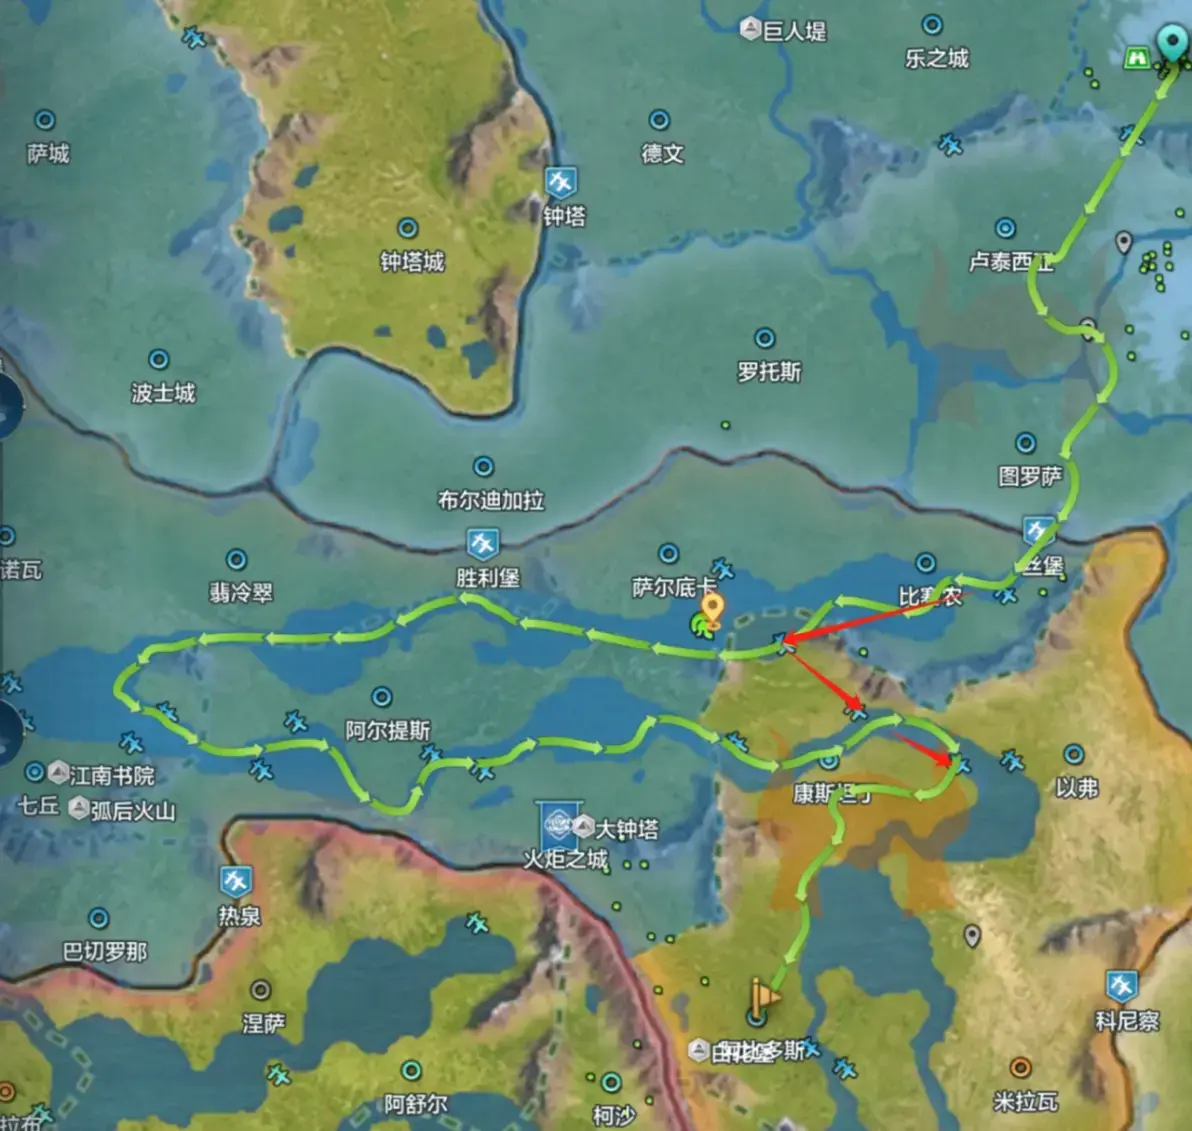
(1) Mid-Sea Combat This involves normal fleet engagements. It is no different from land combat. The focus for both sides is to control important strategic points, such as the nearest land connection point (where a fortress can be built to restore morale and recruit) and Sea Forts (where a Sea Fortress can be built for mid-sea deployment, morale recovery, and recruitment).
(2) Landing and Assault Warfare Landing operations are actually very difficult because you cannot build a fortress right on the enemy's doorstep. The land-based defender has a very large advantage.
Therefore, it is extremely challenging for naval forces to launch an attack on a land-sea connection point. The attacker must bear morale penalties, travel distance issues, and inefficient recruitment.
To conduct a landing operation, extensive preparation is required, such as:
-
Establishing supply points as close as possible, for example, by controlling the nearest land-sea connection points and Sea Forts to shorten travel distance and reduce penalties.
-
Utilizing vision mechanics and the time difference in troop movements to avoid getting bogged down in a war of attrition, which would lead to a highly unfavorable situation.
Naval Strategy
Players who have studied the map have likely noticed the changes in the Fourth Era, which are concentrated on the following points:
-
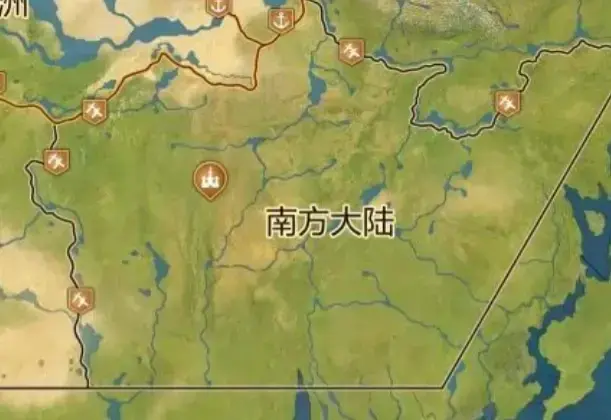
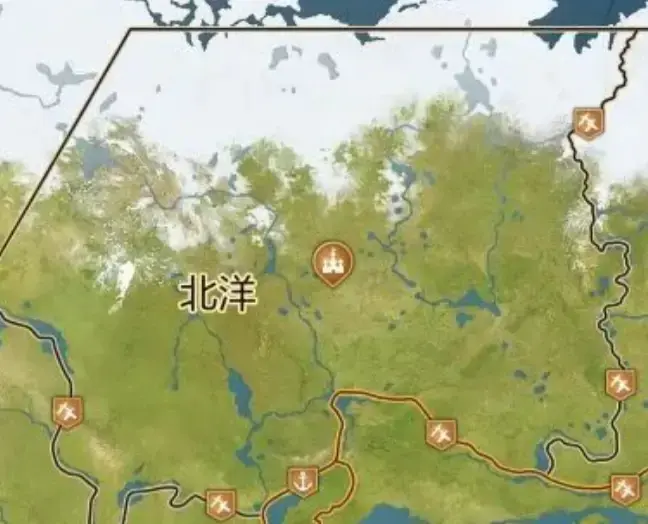
The number of Starting Continents and Resource Continents has changed from the previous 9-3-1 layout to a more symmetrical 6-2-1 layout. -
The two continents, Northern Ocean and Southern Continent, are mirrored Starting Continents that can each access two Resource Continents.
-
Large ocean areas have been added, connecting various strategic points. Notably, each Starting Continent's two passes to the Resource Continents are one land and one sea pass. The two passes connecting to the central Fertile Lands are also one land and one sea pass.
From this, we can deduce the following conclusion: In the Fourth Era, naval warfare and control of the sea are extremely important. Control of the sea determines faster expansion speed and territory acquisition, and it dictates more proactive map-wide troop deployment and grand strategic options.
The relationship between land control and sea control is as follows: sea control is primary for movement, deployment, and surprise attacks, while land control is primarily for defense. The faction that masters sea control first can more easily seize control of the land. Therefore, all strategy should prioritize a sea-to-land approach.

Finally, a brief introduction to grand strategy on the Fourth Era map.
1. Continent Selection In the 6-2-1 map, the setup favors balanced confrontations. In a two-sided conflict (the situation in most servers), it will typically be a mirrored start, with each side securing three continents.
It is recommended that each side controls one of either the Southern Continent or the Northern Ocean. When selecting your starting location, you must not allow the opposing side to have both of these continents, as their strategic importance is immense. Furthermore, if your forces on these continents are weak, the enemy can easily push into your Resource Continents. Therefore, you must deploy sufficiently strong players to hold the line.
In a multi-sided conflict, controlling these two continents is also crucial, as it provides greater room for development, whether advancing or retreating.
2. Choice of Passes from Resource Continents In this era, each Starting Continent has both a land and a sea route to the Resource Continents.
The recommendation here is to open both routes simultaneously and advance on both fronts. If you must choose only one route, prioritize the sea pass.
The reason is simple: the sea routes are interconnected and lead to most strategic points. Compared to land routes, which are plagued by barbarian harassment, using a navy to directly capture a dock and then expand is much faster.
After exiting through a sea pass, the highest priority becomes advancing along the sea lanes to capture all Docks and Port Cities for rapid map control. Quickly securing Sea Forts will also grant immense sea control in the early game. Gaining control of the sea allows you to strike anywhere on the map, giving you a massive strategic initiative.
[Image showing a strategic arrow pointing from a starting continent through a sea pass.] Caption: Choose the sea pass to exit.
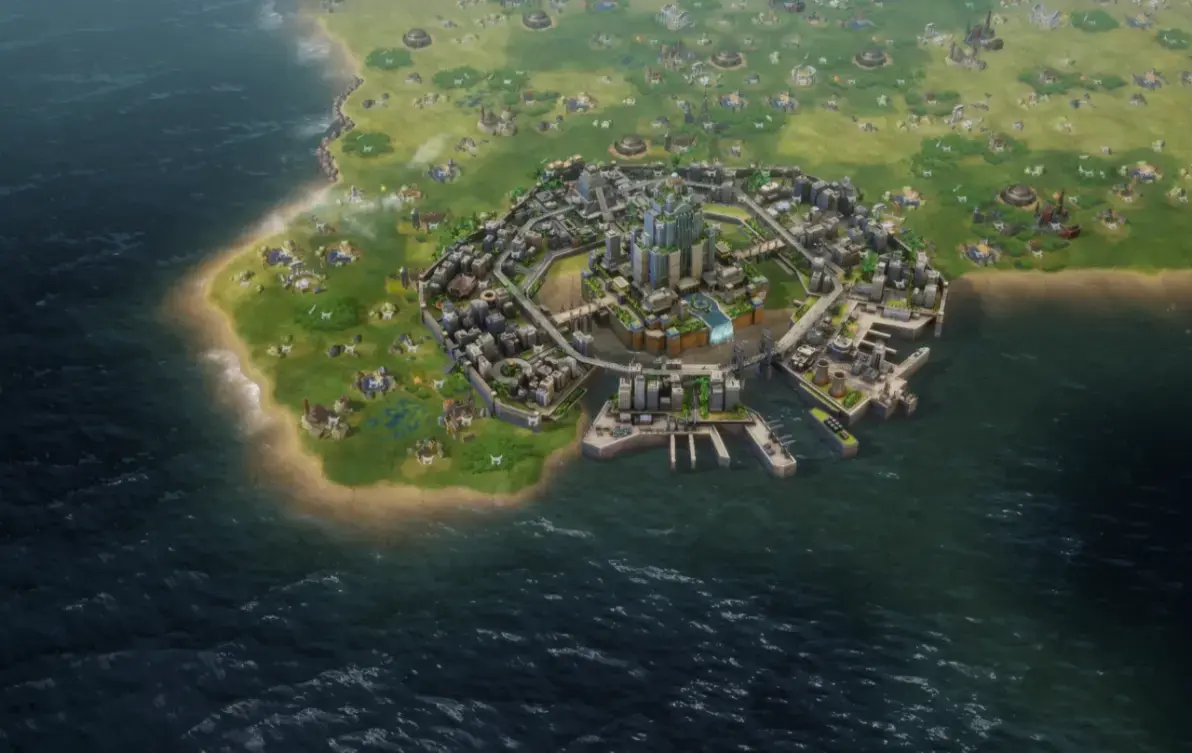
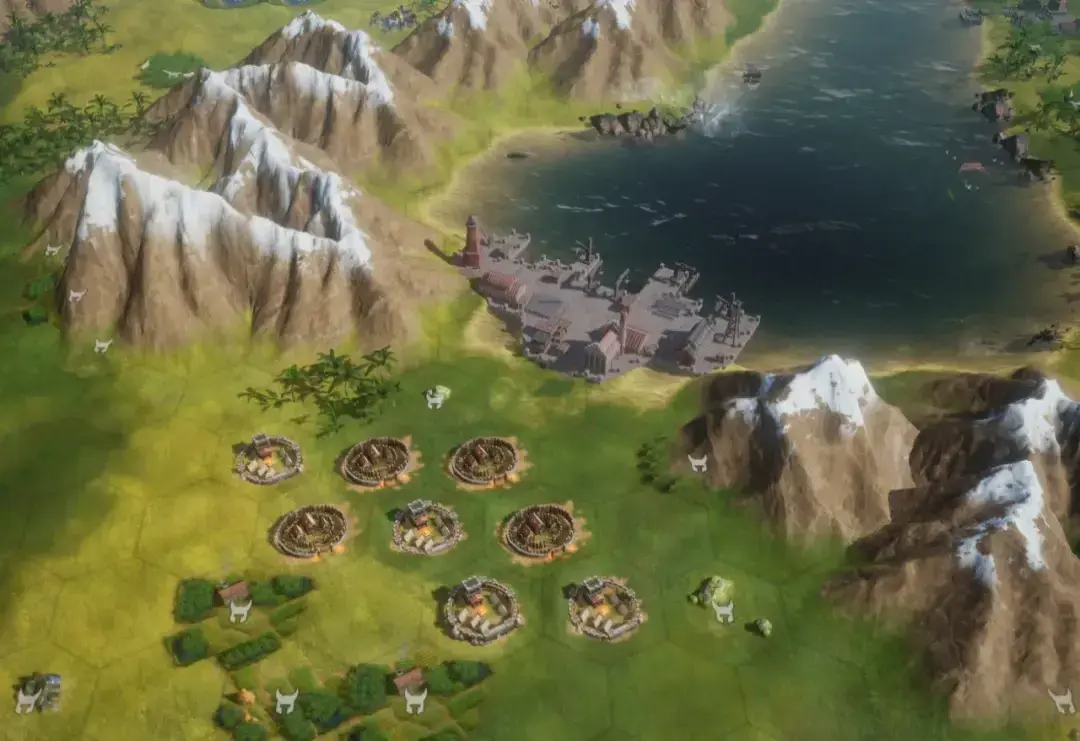
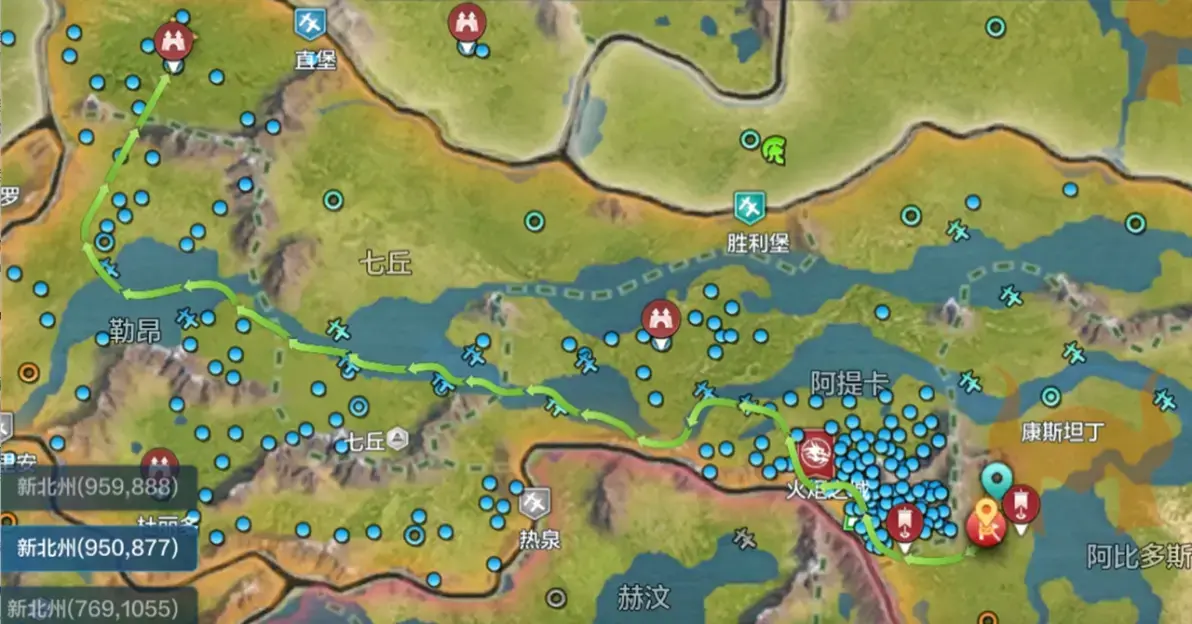
3. Pass Selection and Deployment for the Fertile Lands The passes from the two Resource Continents to the Fertile Lands in this era are also one land and one sea pass each, for a total of four passes. The Fertile Lands consist of two mirrored peninsulas plus a central Sky City island.
The island of Sky City is very small, meaning it cannot accommodate a large number of relocated cities. This implies that supply lines for military campaigns will heavily rely on sea routes.
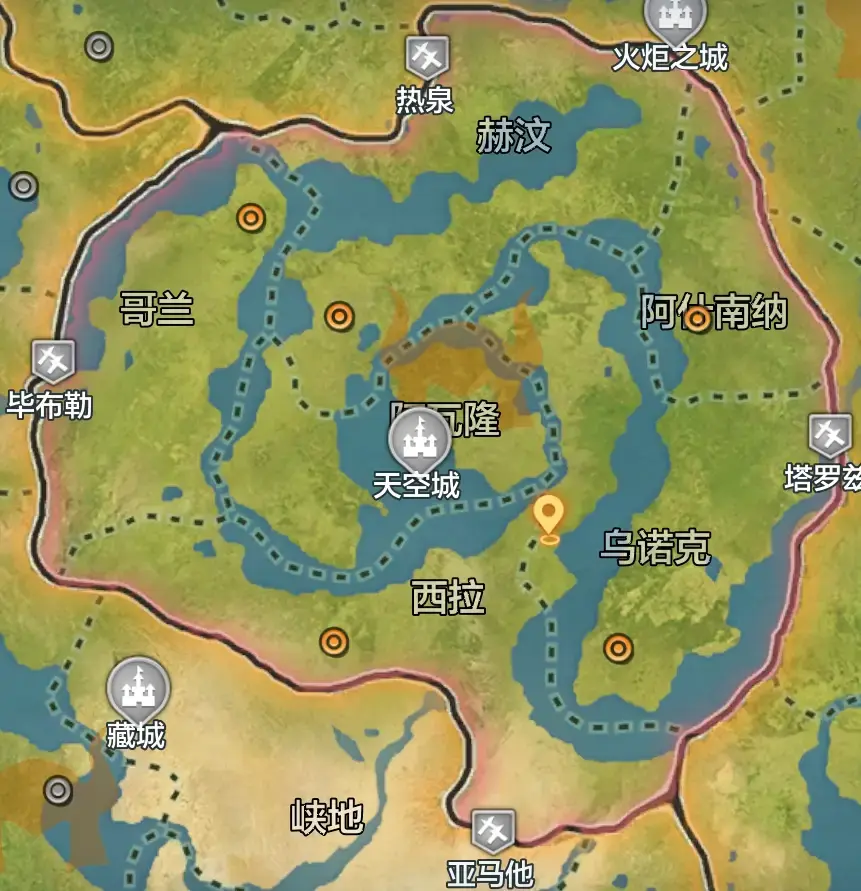
[Image showing the central Fertile Lands and the surrounding sea.]
As seen in the map above, controlling the sea means controlling Sky City. Therefore, your main forces must prioritize controlling the sea lanes and attacking from the sea.
Because the sea lanes connect to all locations in the Fertile Lands, movement and occupation are extremely convenient, allowing for direct and rapid map control.
The recommended strategy is to advance from the sea pass, prioritizing the capture of Docks, Port Cities, and Sea Forts along the way. Once these key points are secured, you can establish a dominant position. After controlling the coastal land-sea connection points, you must quickly move ashore to capture cities, build fortresses, and establish city relocation spots to create a solid foothold on land, creating a mutually reinforcing position.
4. Deployment at Resource Continent Connection Passes The passes connecting the Resource Continents are also purely sea passes. Controlling them first provides a huge defensive advantage and more offensive strategic options. Once these passes open, you must make arrangements to secure them immediately.